Easily Make AI Art with Midjourney
By Sherry Jiang
Check out the showcase for Midjourney!
https://www.midjourney.com/showcase/recent/


WARNINGS before you start the tutorial:
1. Midjourney almost has nearly no censorship. 2. The final product that you generate is also visible to other users.
Therefore, you may encounter disturbing content from other users during the process. Please be mentally prepared for it, or choose an alternative that has censorship (such as DALLE). Also, be aware that your image and prompt are also available to other users.
Step 1:
Visit https://www.midjourney.com
Choose “Join the Beta” at the bottom.

Make sure you have a Discord account. Midjourney works entirely on Discord, so you’ll need an account there to use it. Signing up for Discord is also free.
Step 2:
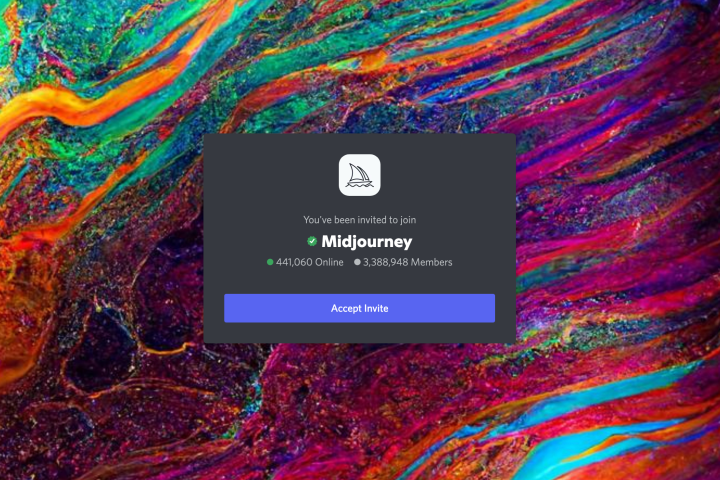
Accept the invite on discord and continue to their channel:

Later when you open the tab for Midjourney, it should look like this:

Step 3: When you continue to the discord channel, there is a brief introduction for where you should input the description. Usually, it would be in the “newbie” bot channel.

Step 4: Type your prompt after /imagine

Some suggestions when writing the prompt
- Try to use concrete nouns for the actual object in your picture, instead of adjectives.
For example, opal instead of colorful jewels, sakura instead of cherry blossom.
-
Specify the theme, or art style you want: (Here I provided some keyword examples)
-
Cyberpunk:
High tech, dystopia, metals, neo, skyscraper, underground cities, slum, cyborg
- Vaporwave:
Neon, geometric, robotic, futuristic, ‘80s
- Post-apocalyptic:
Desolate, stormy, fire, decay
- Gothic:
Stone, dark, lush, mist, black, grotesque, barbaric, barbarous, mysterious.
- Memphis Group:
Bright, gaudy, decorative
-
Specify the material used specifically:
-
CG
-
Anime
-
Cartoon
-
Ukiyoe
-
Trad
-
Abstraction
-
Sketch
-
Chinese monochrome
-
Canvas
-
Print
-
Painting gouache
-
Crayon
-
Watercolor
-
Colored pencil
-
Propylene
-
Pastels
-
Woodblock print
-
Matte painting
-
Charcoal drawing
-
Graffiti
-
…
-
Specify the genre:
-
Classicism
-
Neoclassicism
-
Romanticism
-
Realism
-
Impressionism
-
Abstractionism
-
Fauvism
-
Cubism
-
Futurism
-
Expressionism
-
Constructivism
-
De stijl
-
Dadaism
-
Surrealism
-
Abstractionism
-
Pop art
-
…
Refer to other resources to see art genres: https://www.lumas.com/art-genres/
OR even the name of the artist:


- For photos, even the brand of the camera taking the photo.
Step 5: Remember to accept the ToS when prompted. It will show up the first time you enter the prompt.

Step 6:
Submit your prompt again.
This is what it would look like when Midjourney has got your prompt and are ready to generate the image…


Step 7:
Midjourney Bot will generate a message on the channel @yourname.
Once you see this first draft, you have two categories of options.
- (U)pscale: upscale means that you are satisfied with this generation (such as U1 means that you are generally satisfied with it, and want a higher quality version of it
- (V)ariation: variation means that you want some variation based on the current one.

For example, if we choose V3, that indicates that we want a variation of the 3rd picture.
Midjourney will start generating it right after you click V3.

The picture shown in the progress is weird.
But once it’s done, you would be sent a message containing the product.
Step 8:
Do variation until you are satisfied with one, then upscale it.

Step 9:
Click on the generated picture and save it.
